Waterpark Simulator Sandbox, Easy, Normal, and Hard Explained
Pick a difficulty once per save—then build habits that match the pressure you chose.
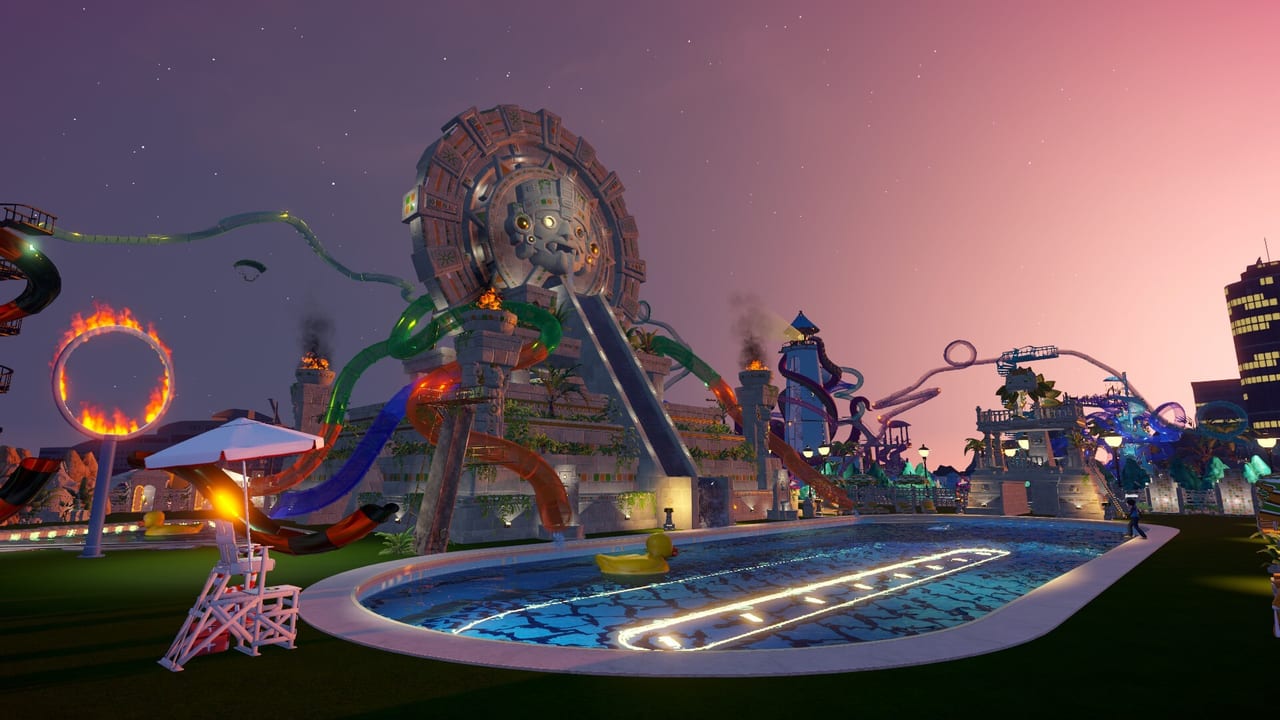
Difficulty is chosen at save creation
Waterpark Simulator by CayPlay Studios ships four difficulty modes at version 1.0 (July 31, 2026) on Steam, PlayStation 5, and Xbox Series X|S at $12.99: Sandbox, Easy, Normal, and Hard. The choice appears when you start a new park save—not in the middle of a campaign. Difficulty is locked per save, so a Normal park cannot flip to Hard without starting fresh. That lock matters for achievements, Beach map plans, and co-op expectations.
This guide compares what each mode changes, who should pick which, and how difficulty interacts with stars, diamonds, and Steam trophies. For Hard-specific survival tactics, continue to Hard Mode Guide. For opening-day basics on any mode, start with Getting Started.
The four modes at a glance
| Mode | Pressure | Typical achievements | Best for |
|---|---|---|---|
| Sandbox | Low rules, creative freedom | Usually disabled | Screenshots, slide tests, layout experiments |
| Easy | Forgiving economy and mess | Usually disabled | Learning tickets, mops, and first hires |
| Normal | Default 1.0 campaign feel | Enabled on Steam / consoles | Standard stars → diamond progression |
| Hard | Tighter wages, harsher failures | Enabled on Steam / consoles | Veterans who want payroll to bite |
Exact numeric differences can shift with patches; this wiki does not invent wage multipliers or maintenance tables. Treat the table as intent, not a spreadsheet.
Sandbox: build first, balance later
Sandbox is the creative lane. Cash pressure, guest complaints, and some failure spirals are relaxed enough that you can place custom slides, test Beach footprints, and chase screenshot angles without a loan panic every afternoon. It is ideal when you want to learn placement rules—bin arrows, slide exits, lifeguard sightlines—before you invite real guest traffic.
Sandbox is not a cheat code for achievement hunting. Easy and Sandbox typically do not award achievements on Steam and mirrored console trophy sets. If your goal is a completionist run, start Normal or Hard on a dedicated save and keep Sandbox for blueprinting.
Sandbox pairs well with co-op building sessions where friends argue about Ocean vs Pirate themes more than payroll. Once a layout works, rebuild the same footprint on Normal if you want stars and unlocks to matter.
Easy: tutorial pressure without bankruptcy
Easy softens the early economy and hygiene curve so wrong tickets and slow mops do not instantly erase a park day. New managers who bounced off Early Access “one-star mornings” often belong here for the first dozen in-game days. You still sell age categories and slide pass types, still restock food, and still mop—but forgiveness gives you room to read the objective list without rage-quitting at the gate.
Like Sandbox, Easy usually disables achievements. Use it to learn Cleaning Loop rhythms and Research Points priorities, then roll a Normal save when you want Steam progress. Easy is also reasonable for young co-op groups or mixed-skill lobbies where one player is still learning PC Controls or Console Controls.
Normal: the default 1.0 campaign
Normal is what most wiki guides assume unless they say otherwise. Ticket income, food margins, staff wages, repair bills, and guest patience sit in the middle band CayPlay tuned for the full 1.0 feature set—Beach map districts, night overtime, security, mascots, and diamond quests above five stars. Achievements track on Normal, so milestone grinds like hygiene totals and bracelet enforcement count toward your Steam profile.
Pick Normal if you want the intended star ladder in Stars and Diamond Rating without Hard’s payroll stress. Normal still punishes expansion before operations stabilize; see Money and Loans before you unlock Beach sprawl on a shaky gate loop.
Hard: achievements on, comfort off
Hard raises operational pressure: wages hurt more, maintenance and accidents sting, refunds and ambulance fees bite, and slow expansion is a feature—not a bug. You can still earn achievements on Hard, which makes it the brag mode for players who already cleared Normal. It is the wrong first save if you have never sold a correct slide pass or filled a trash bag to capacity.
Hard rewards discipline covered in the dedicated Hard Mode Guide: hire for bottlenecks, not vanity; expand one district at a time; treat Mafia loans as one-time rescue, not a budget line. Beach map content on Hard expects you to start a new save—old Early Access layouts do not migrate, and Hard Beach runs are long campaigns, not weekend experiments.
Achievements, trophies, and mode choice
Steam shows a large achievement set (~71 around 1.0, subject to growth). Easy and Sandbox saves generally will not progress those unlocks; Normal and Hard will. Console trophies on PS5 and Xbox follow the same design split even when the UI labels differ.
If you care about Achievements Guide grinds—No Trespassing bracelet catches, Pool-itzer rescues, Mogul-scale revenue—commit to Normal or Hard early. Switching later means a new save and replaying onboarding stars. Sandbox remains valuable for practicing gate enforcement routes without burning a trophy save.
Beach map, settings, and save planning
Beach map content in 1.0 expects a new save with the Beach template. Difficulty choice and map template both happen at creation; you cannot import an old starter lot into Beach mid-campaign. Plan difficulty and map together: Easy Beach for co-op tourism screenshots, Normal Beach for diamond-era goals, Hard Beach only when Getting Started loops feel automatic.
Optional comfort toggles live in settings independently of mode—for example, guest sickness can be disabled if medical mess distracts your household. That toggle does not change difficulty enum or achievement eligibility rules; it only removes one mess type from your lap.
Which mode should you pick?
Pick Sandbox if: you want creative building, slide QA, or theme tests with minimal bankruptcy risk and no achievement tracking.
Pick Easy if: you are new to first-person park chores, teaching a friend, or returning after a long break and need forgiving mornings.
Pick Normal if: you want the standard 1.0 stars → diamond campaign with achievements enabled and moderate economic pressure.
Pick Hard if: Normal feels comfortable, you enjoy payroll tension, and you want achievements plus bragging rights on a slower expansion clock.
When in doubt, start Normal on a small starter map, learn the gate and mop loop, then spin a Hard save once Money and Loans and Stars and Diamond Rating make sense. Keep Sandbox saves as cheap laboratories—not as your only park.
Linked reading
- Opening checklist: Getting Started
- Hard survival route: Hard Mode Guide
- Cash and loans under pressure: Money and Loans
- Trophy and grind strategy: Achievements Guide
- Prestige track: Stars and Diamond Rating
- Hub: Guides Hub
Frequently Asked Questions
Quick answers to the most common questions.
Can I change difficulty after starting a save?
No. Difficulty is locked per save at creation. Switching modes requires starting a new park file with the difficulty you want.
Do Easy and Sandbox award Steam achievements?
Typically no. Achievement progress usually requires Normal or Hard saves. Use those modes if completionism matters.
Which difficulty should beginners choose?
Easy for maximum forgiveness while learning tickets and cleaning, or Normal if you want achievements from day one and can tolerate sharper failures.
Does Hard mode block Beach map content?
No, but Beach requires a new save with the Beach template. Hard Beach is a long ops challenge—learn Normal loops first.
Does disabling guest sickness change my difficulty?
No. Sickness is an optional settings toggle. It removes one mess type but does not change the save’s difficulty enum or typical achievement rules.
Where do I go after picking Normal or Hard?
Read Getting Started, then Money and Loans and Stars and Diamond Rating. Hard players should add the Hard Mode Guide once the gate loop feels stable.